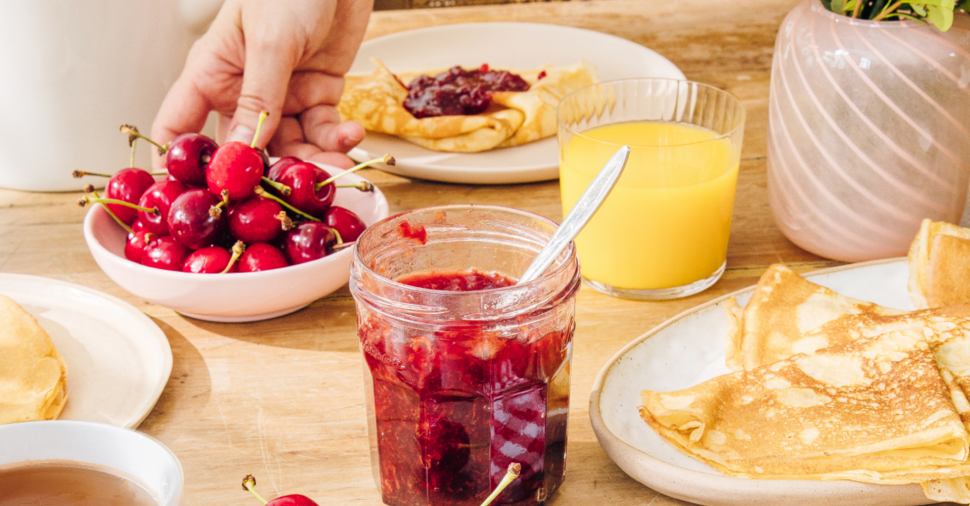

When cherries start turning deep red and their flesh becomes juicy, it’s time to start preparing delicious cherry jams using Bonne Maman’s easy-to-make recipe.
One of spring’s most emblematic fruits, cherries joyfully announce the return of beautiful weather, setting the table for the first picnic lunches and long afternoons with family and friend, enjoying the magnificence of a warmer sunlight.
Ingredients
- 950 g cherries
- 1 kg “special jam” sugar
- 200 g water
- 5 g lemon juice (approx. 1 tsp)
Utensils
- One large saucepan
- One knife
- One food scale
- One plate
- One skimmer
- 4 Bonne Maman glass jars
Prepare a delicious Bonne Maman homestyle cherry jam.
Before you start:
To ensure an optimal preservation of your jam, it is important to thoroughly clean your jars and lids. First soak them in a saucepan filled with water, then let boil between 5 and 15 minutes. Remove from the water, turn upside down and let dry on a clean cloth. You can also clean them in the dishwasher.
Directions:
Step 1: Select 950 g of beautiful, ripe and unblemished cherries, ideally locally-grown and in season.
Step 2: Cut the cherries in half and pit them in a saucepan. Tip: You can reuse the pits to make a hot water cushion.
Step 3: Transfer the fruits in a large saucepan and start cooking at medium heat, stirring regularly with a wooden spatula. When cherries are soft, reduce heat.
Step 4: Pour in some sugar regularly, stirring frequently at medium heat, then let rest for 1 hour. Tip: If you prefer your jam a little less sweet, remove 200 g of sugar from the recipe. However, it will reduce the preservation time!
Step 5: When the sugar is well incorporated, cook for about 50 minutes over high heat (low boiling), stirring regularly. Frequently pour 200 g of water so your jam doesn’t stick to the bottom of the pan.
Step 6: Your cherries will be cooked when they become more “translucent” and are evenly distributed through the preparation.
Tip: To check if your jam will turn to jelly, pour a drop on a refrigerated plate and lean it: if the drop slides, your jam needs more cooking. If it freezes, it’s ready!
Step 7: Once your cherries are cooked, add a teaspoon of lemon juice (to ensure a better preservation and taste!) and bring to boil for a few seconds. Remove from heat and skim any foam built at the surface.
Step 8: Immediately pour into jars using a ladle and fill to the top. Close all jars properly and flip them upside down on a cloth to “home pasteurize”.
Step 9: Let jars cool completely before labeling. You will then be able to store your jams in a cool, dry place for several months.
Step 10: Once you open a jar, keep your jam in the refrigerator and consume within a month.
Your cherry jam in now ready to enjoy!
It will deliciously enhance the flavour of your toasts, warm waffles of fresh Greek yogurt.
